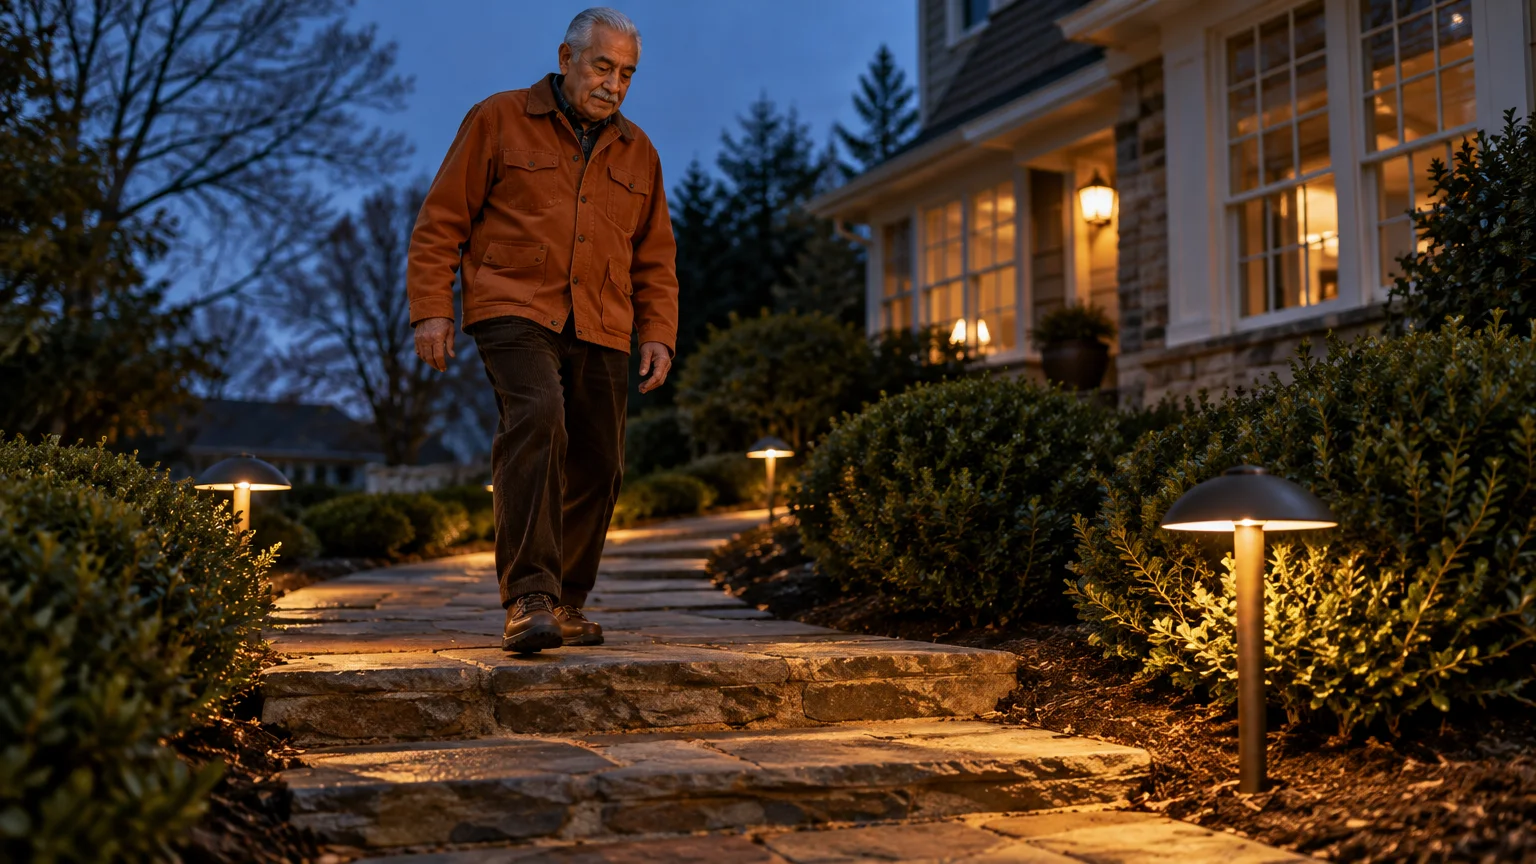
Upgrading your outdoor fixtures does not mean flooding your yard with blinding security lights. For older eyes, high-intensity bulbs create disabling glare that conceals cracks, edges, and elevation drops on stone walkways.
Alongside outdoor path upgrades, routines like daily senior check-in calls provide extra reassurance for older adults living independently.
Upgrading exterior illumination is an integral part of essential home safety checks for seniors to prevent accidents around the property.
True walkway safety relies on low-glare, shielded fixtures that cast uniform illumination across uneven pavers and steps. Proper contrast reveals ground hazards without blinding you as you walk.
This practical guide delivers exact lumen targets, warm color temperatures, and layout measurements to secure your driveway steps and paths against dangerous trips.
In this guide9 sections
- Visual Changes and Nighttime Fall Risks
- Glare Control: Color Temperature and Shielding
- Optimal Lumens for Walkways and Outdoor Steps
- Low-Voltage Wired Systems vs. Solar Fixtures
- Fixture Spacing and Placement Strategies
- Worked Example: Driveway Steps and Stone Walkway
- Step-by-Step Low-Voltage Installation Guide
- Outdoor Lighting Maintenance and Safety Checks
- Frequently Asked Questions
Visual Changes and Nighttime Fall Risks
Ground-level trip hazards become significantly harder to spot as your eyes age. Physical changes within the eye change how light reaches your retina after dusk.
Beyond outdoor visibility improvements, maintaining balance through low-impact exercises for seniors provides essential physical protection against loss of footing.
For extra peace of mind when navigating outdoor steps alone, many seniors rely on monitored or unmonitored fall alert systems in the event of an unexpected tumble.
Staying proactive with regular eye exams and understanding Medicare vision care coverage can help manage cataracts and age-related vision shifts before they impact your mobility.
According to federal health data, more than one in four Americans aged 65 and older falls each year. These incidents cause three million emergency room visits annually and generate over $50 billion in direct medical expenses.
A natural condition called senile miosis causes your resting pupil size to shrink over time. Because smaller pupils restrict incoming light, an average 60-year-old requires three times more ambient light to see clearly than a 20-year-old.
At the same time, the crystalline lens inside your eye gradually thickens and yellows. This clouding scatters light across the retina, creating intense sensitivity to unshielded light sources.
Community health groups, including the Administration for Community Living fall prevention initiatives, emphasize that home modifications must account for these sensory changes to keep older adults safe outdoors.
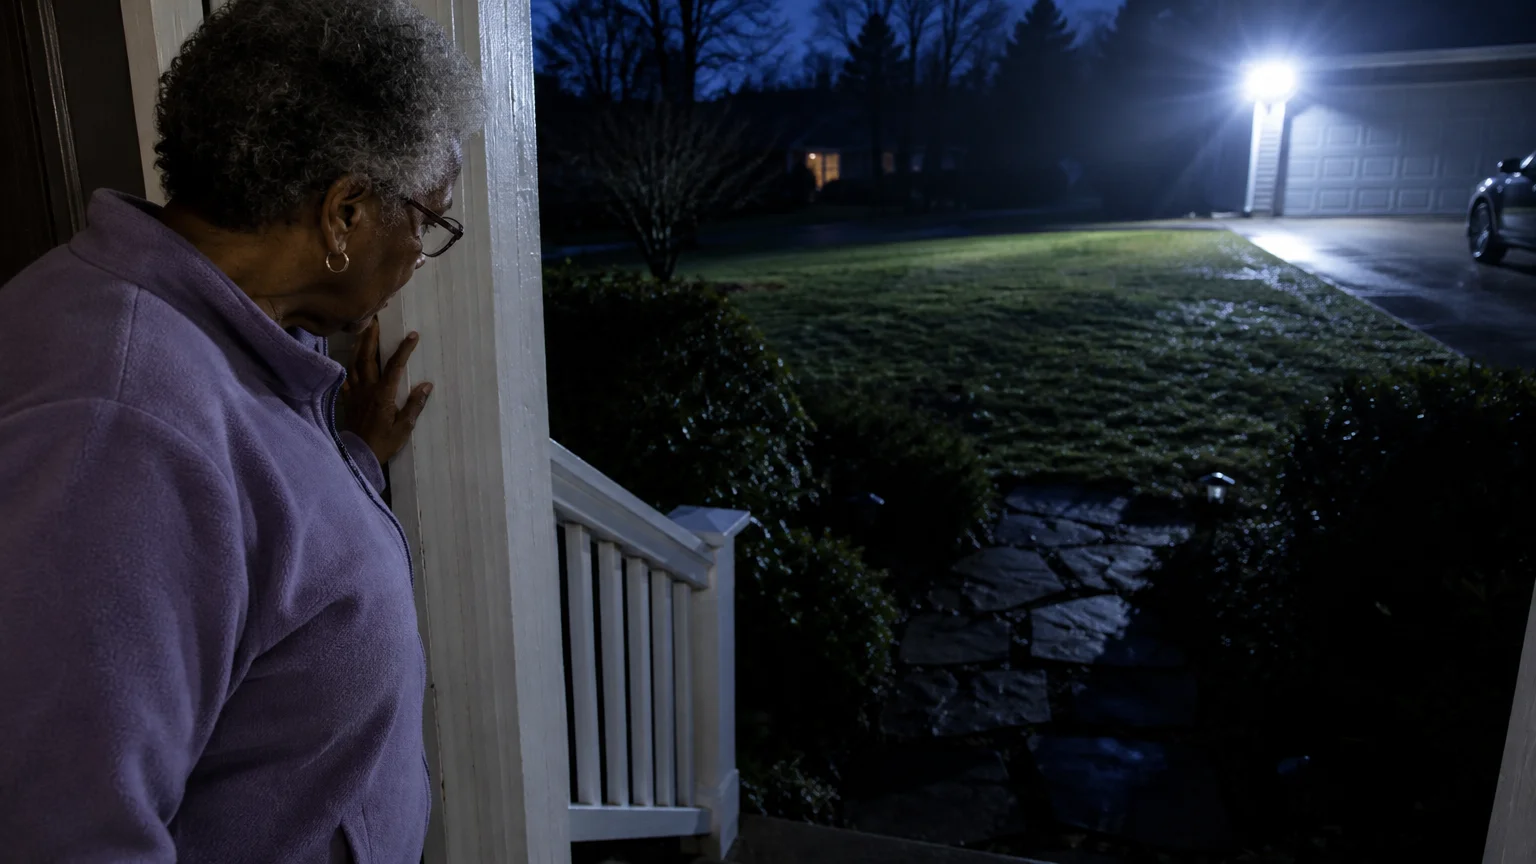
When an unshielded light bulb shines into your line of sight, your pupils instantly constrict. This sudden constriction leaves the surrounding walkway plunged in darkness, hiding driveway joints and step edges.
The solution is not raw wattage; rather, it is balanced illumination. You need fixtures that direct every lumen downward onto the walking surface while shielding the light source from your eyes.
Glare Control: Color Temperature and Shielding
Color temperature determines whether a light fixture assists your vision or actively impairs it. Measured in Kelvins (K), color temperature dictates the warmth or coolness of the beam.
Just as shielded lighting eliminates outdoor tripping hazards, interior updates like converting a bathtub to a walk-in shower help remove high-risk physical thresholds indoors.
Avoid cool white and daylight LED bulbs ranging between 4,000K and 5,000K for outdoor walkways. These blue-heavy wavelengths scatter violently across clouded eye lenses, producing distracting halos and blinding glare.
Install warm white LED fixtures rated strictly between 2,700K and 3,000K. Warm light penetrates outdoor darkness cleanly without scattering, preserving your night adaptation and revealing uneven stone borders.
The Illuminating Engineering Society outlines visual environment standards for older adults in guideline ANSI/IES RP-28. This standard highlights full-cutoff shielding as the most critical defense against disabling glare.
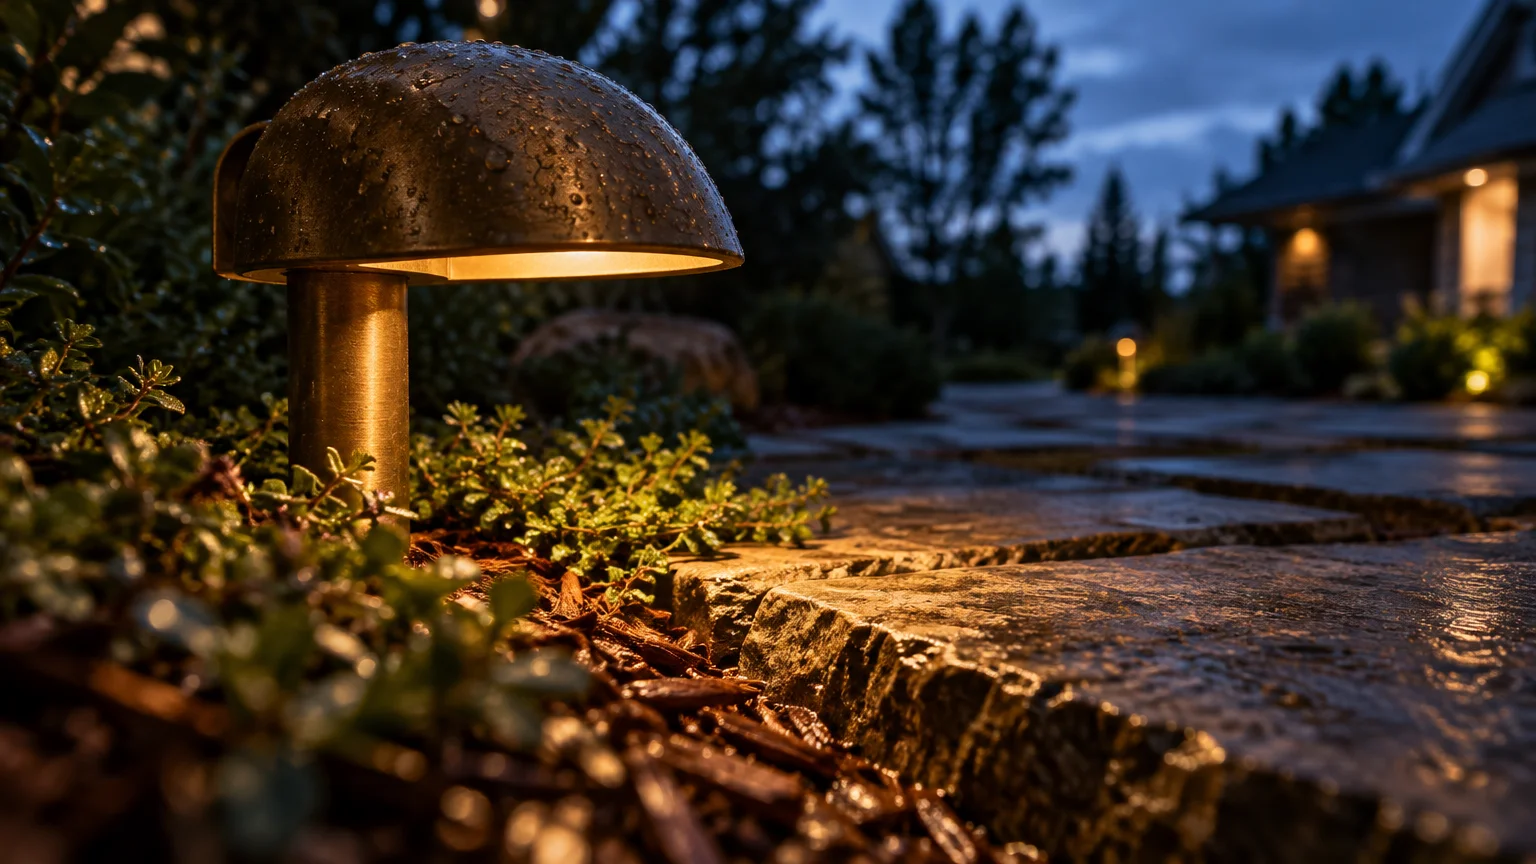
A full-cutoff fixture features an opaque metal top and recessed bulb socket. This design forces all light downward and outward, completely blocking horizontal light beams from hitting your eye at walking level.
- Select solid brass, copper, or powder-coated aluminum hats that measure at least 6 to 8 inches in diameter.
- Avoid decorative fixtures with clear glass globes or exposed filament bulbs.
- Ensure the LED emitter sits recessed under the canopy cap by at least 1 inch.
- Choose frosted or diffused lenses over clear glass to eliminate sharp hot spots on the ground.
Proper shielding directs light where your feet land. It prevents high-contrast shadows that can distort your depth perception when stepping off a driveway curb.
Optimal Lumens for Walkways and Outdoor Steps
Lumens measure the total amount of visible light produced by a fixture. Many homeowners mistakenly purchase fixtures that are either too weak to reveal cracks or too intense to look past.
Pairing proper exterior illumination with indoor fall prevention—such as laying down non-slip bathroom rugs—ensures reliable traction throughout the entire home.
Clear ground illumination also complements senior-friendly garden design by keeping garden beds and perimeter borders visible after twilight.
For horizontal stone paths and paver walkways, choose fixtures rated between 100 and 200 lumens. This range provides clear ground illumination without overwhelming your visual field.
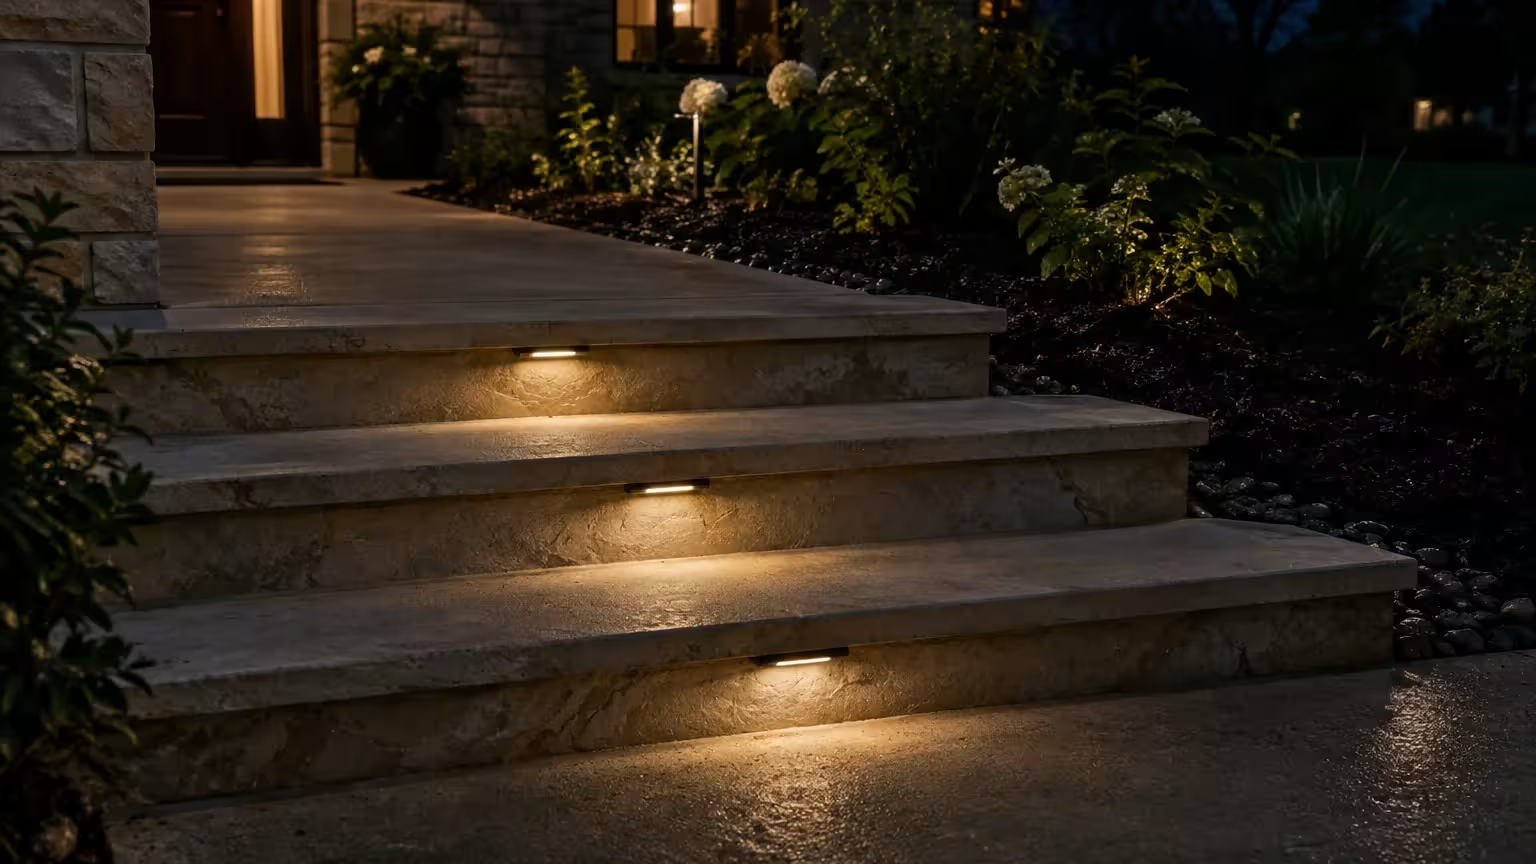
Step lighting demands even tighter control to protect your depth perception. Fixtures mounted along outdoor stairways should emit between 30 and 100 lumens per unit.
Under International Residential Code (IRC) Section R303.7, exterior stairways require a minimum illumination level of 1 foot-candle (approximately 11 lux) on all treads and landings. You can easily achieve this standard using downward-directed, low-lumen fixtures.
- Main Flagstone Walkways: 120 to 180 lumens per fixture, spaced to wash the stone edges.
- Secondary Garden Paths: 80 to 120 lumens per fixture for soft boundary definition.
- Stair Risers: 30 to 60 lumens per fixture, mounted flush into the vertical face.
- Side Stringers or Step Walls: 50 to 100 lumens per fixture with downward louvered faceplates.
- Driveway Transition Landings: 150 to 200 lumens to highlight curb drops and material changes.
When you keep output within these ranges, your eyes adjust naturally as you transition from the driveway to your front door. You eliminate extreme brightness shifts that cause momentary visual blindness.
Low-Voltage Wired Systems vs. Solar Fixtures
Solar path lights sold at big-box home improvement stores often appeal to homeowners due to quick installation. However, solar lights rarely deliver the reliability required for serious fall prevention.
Connecting wired landscape transformers to senior-friendly smart tech allows you to automate outdoor lighting schedules seamlessly without confusing manual timers.
Pairing low-voltage landscape lighting with a reliable home security system strengthens both nighttime safety and perimeter protection around your house.
Most consumer solar stakes rely on small photovoltaic cells and low-capacity rechargeable batteries. During cloudy winter afternoons, these units fail to gather enough charge to maintain illumination past dinner time.
Furthermore, standard solar fixtures quickly degrade to an output of fewer than 10 to 20 lumens. That faint glow is insufficient to illuminate dark tree roots or uneven flagstone joints.
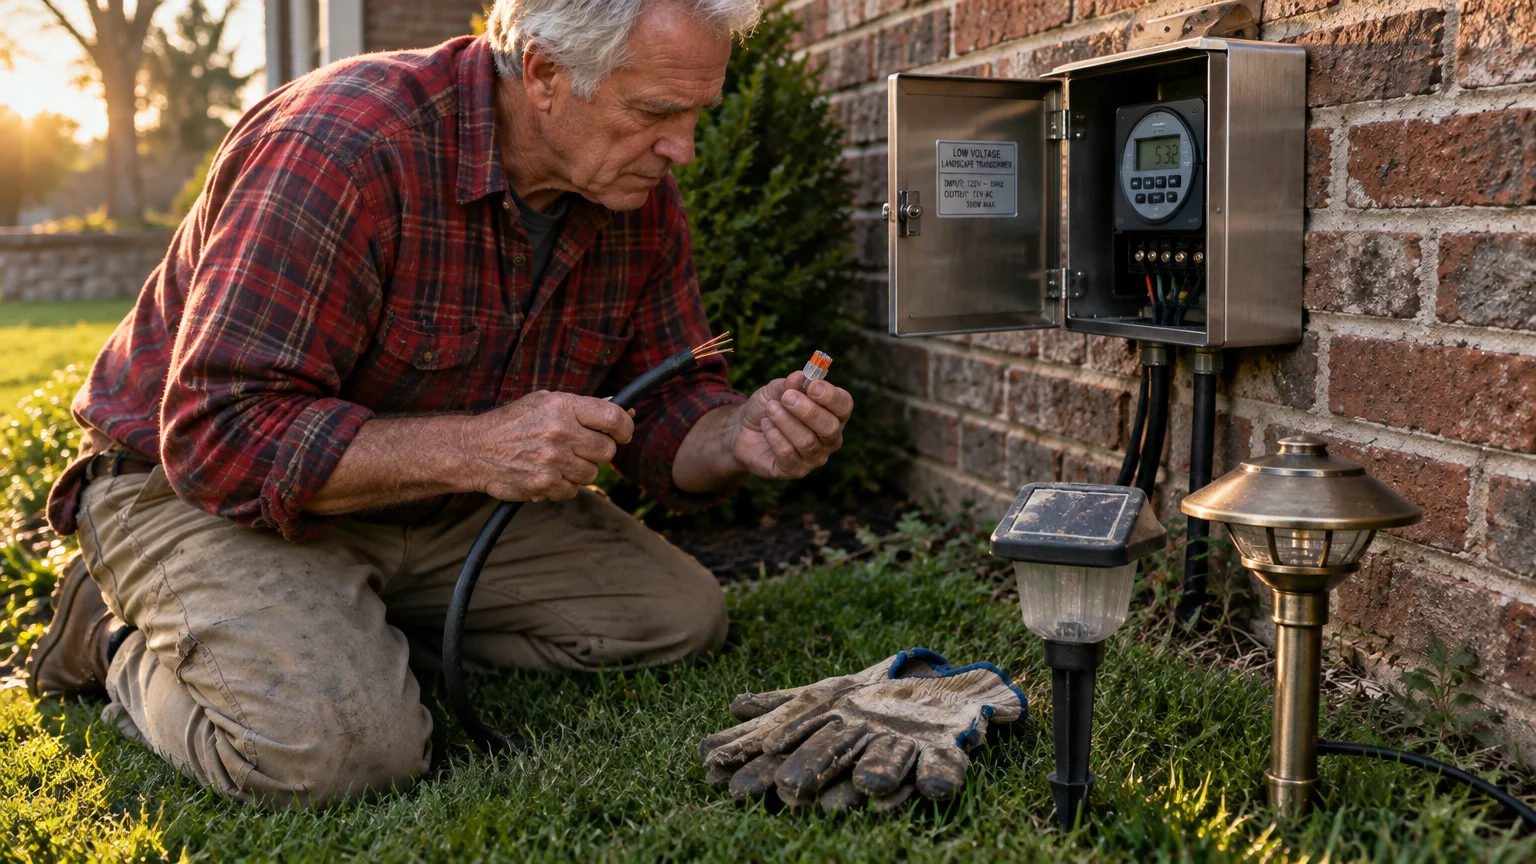
A low-voltage 12-volt hardwired system connects to an outdoor GFCI outlet through a transformer. It delivers constant, reliable voltage and full lumen output regardless of freezing weather or snow cover.
While 120-volt line-voltage fixtures also provide steady illumination, they require metal conduit and deep 18-inch trenches. A 12-volt system operates safely below shock thresholds and needs only shallow burial.
| Performance Attribute | Low-Voltage (12V) LED System | Commercial-Grade Solar Stakes | Line-Voltage (120V) Hardwired |
|---|---|---|---|
| Light Output Stability | 100% constant output all night | Fades by 50% to 80% within 4 hours | 100% constant output all night |
| Winter and Cloud Reliability | Unaffected by weather or short days | Fails frequently during winter storms | Unaffected by weather conditions |
| Expected Fixture Lifespan | 10 to 15 years (cast brass/aluminum) | 1 to 3 years (plastic degradation) | 15 to 20 years (heavy commercial) |
| Required Trench Depth | 3 to 6 inches direct-burial | None (surface ground stake) | 18 to 24 inches in rigid conduit |
| Average Fixture Cost | $35 to $75 per fixture | $15 to $40 per fixture | $80 to $160 per fixture |
The data shows why low-voltage wired fixtures remain the standard choice for home safety. They provide dependable light across every cold evening and rainstorm without seasonal battery failure.
Fixture Spacing and Placement Strategies
How you arrange your lights matters just as much as the fixtures you choose. Positioning fixtures in straight, parallel lines creates an “airport runway” effect that flattens depth perception.
Adequately illuminating driveway borders also supports safe driving in retirement when parking or stepping out of vehicles after dark.
While exterior steps can be made safer with proper tread lighting, tackling steep indoor staircases often requires reviewing stair lift installation options and costs.
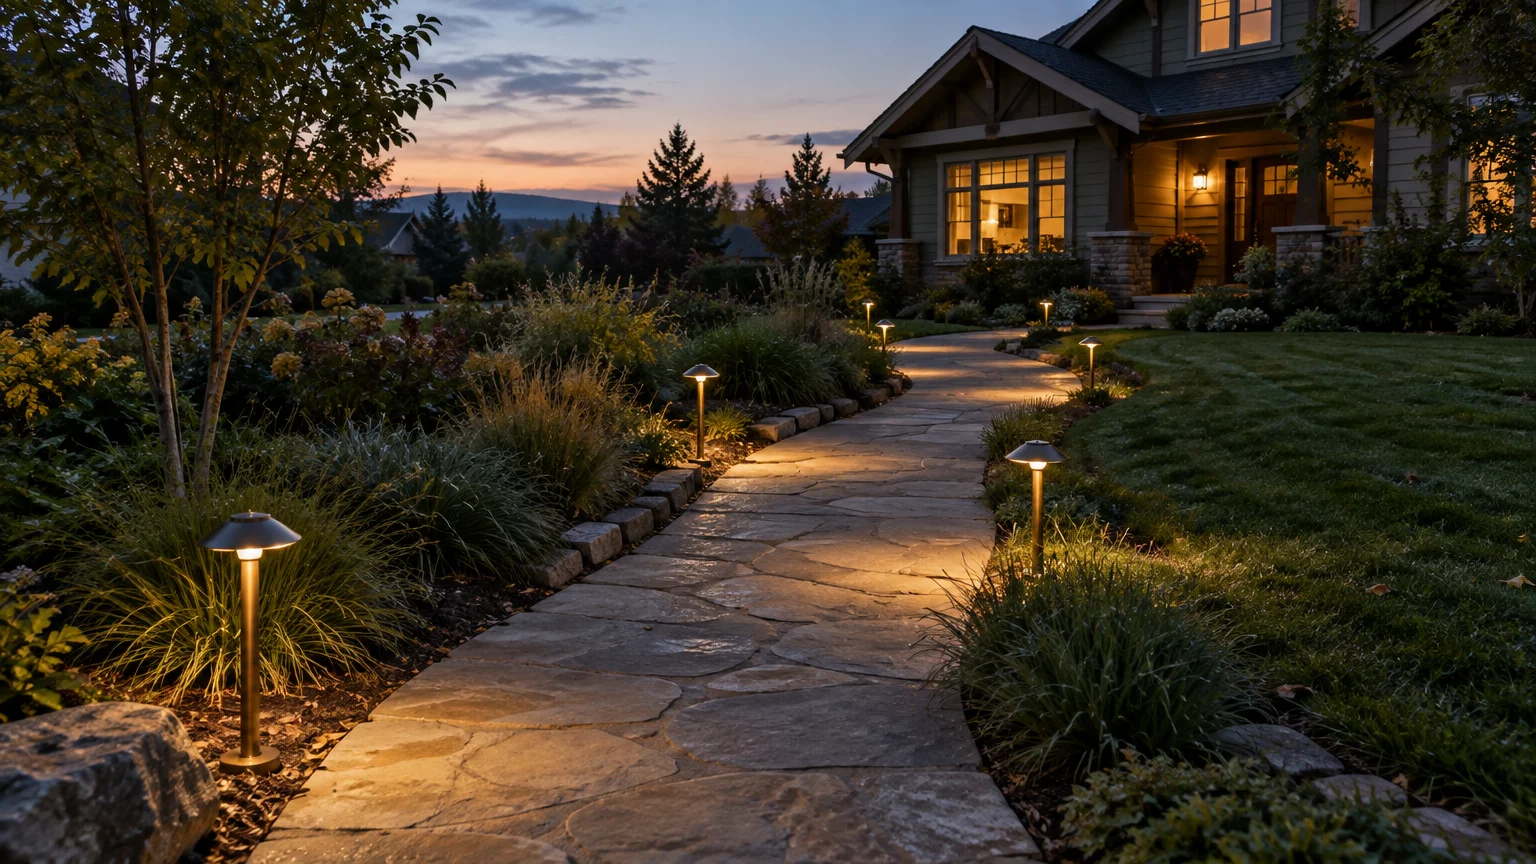
Instead, stagger your pathway lights on alternating sides of the walkway. Space fixtures roughly 6 to 8 feet apart along the path.
This alternating layout produces overlapping pools of light across the flagstone surface. The slight overlap eliminates pitch-black pockets between fixtures where hazards might lurk.
- Set path lights back 8 to 12 inches from the walking edge to protect them from snow shovels and lawn trimmers.
- Position path fixtures at a height of 14 to 22 inches to spread the light beam without shining into your eyes.
- Place a dedicated fixture within 2 feet of any sudden walkway curve or surface transition.
- Position lights directly opposite tree roots, ground shifts, or sprinkler heads that cross the route.
For outdoor steps connecting a driveway to an entry walk, illuminate each tread surface individually. Shadows falling across step treads can make three separate steps look like a single flat surface.
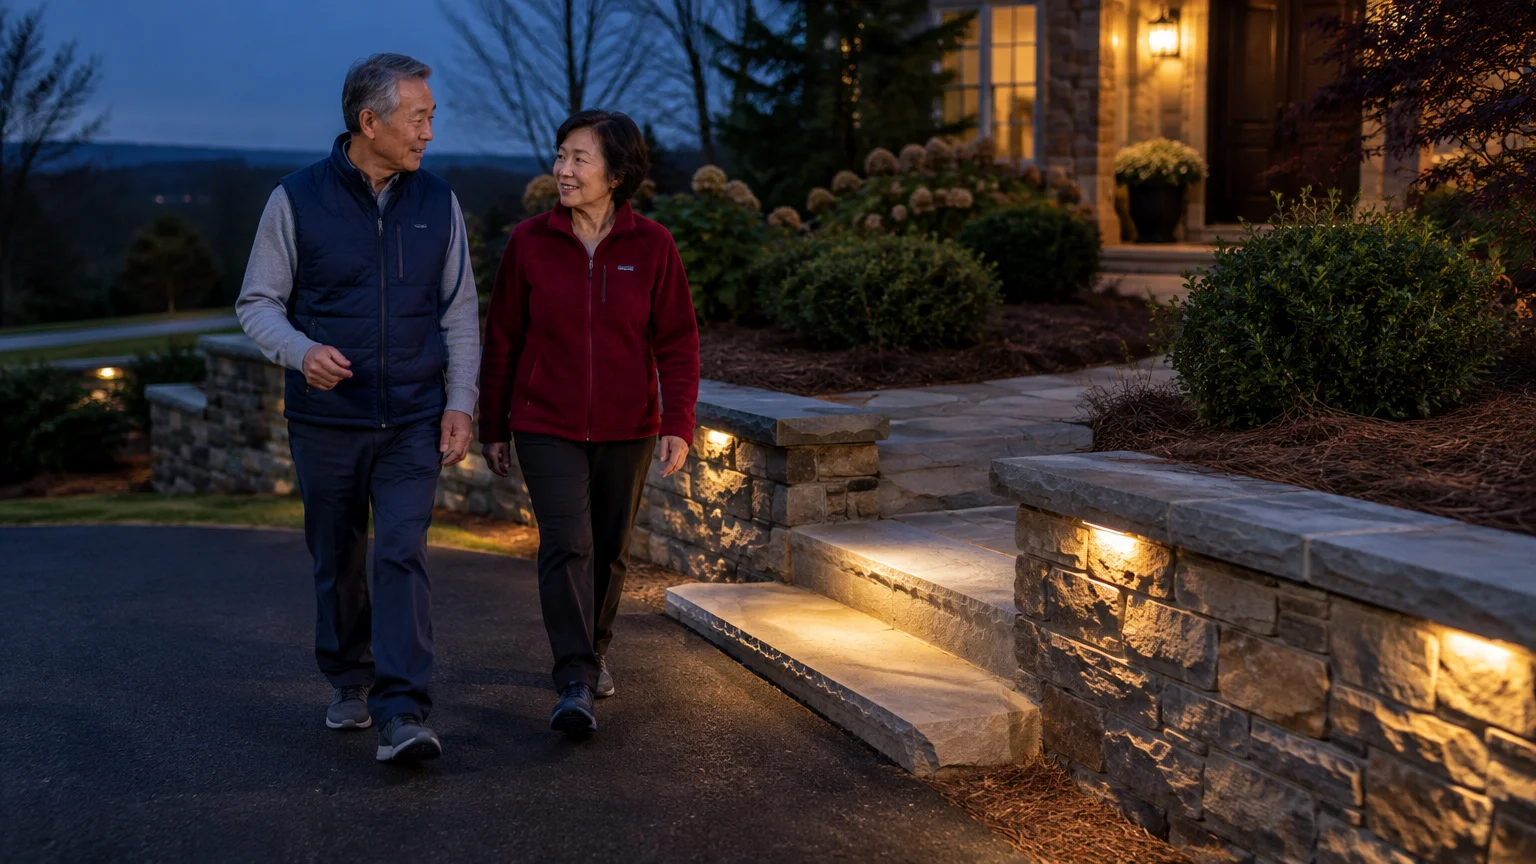
Install recessed riser lights into the vertical face of every second step, or mount louvered fixtures on adjacent retaining walls. Aim the light downward across the tread surface so the step nose casts a clear, identifiable shadow below.
For older adults seeking guidance on home safety layouts, organizations like AARP home modification resources recommend consistent light levels across every exterior level change.
Worked Example: Driveway Steps and Stone Walkway
To see how these principles translate into practice, consider a practical project for a 65-year-old homeowner upgrading a home entry. This real-world scenario details the exact layout, equipment, and cost breakdown.
The project covers a 40-foot flagstone walkway leading from an asphalt driveway up to a front porch. The route includes a flight of 4 poured-concrete driveway steps, each measuring 48 inches wide with 7-inch risers.
The flagstone path features uneven joints with elevation changes up to 0.75 inches between pavers. Without direct illumination, these irregular stone edges present significant trip hazards at night.
The design specifies five cast-brass path lights along the 40-foot stone walk, spaced 8 feet apart in a staggered pattern. Each path fixture uses a 3-watt LED producing 150 lumens at 2,700K.
For the steps, the plan adds three brass step lights mounted on the adjacent brick cheek wall. Each step fixture uses a 1.5-watt LED delivering 60 lumens at 2,700K with downward louvers.
- Path Lights: 5 fixtures × 3 watts = 15 watts total.
- Step Lights: 3 fixtures × 1.5 watts = 4.5 watts total.
- Total Fixture Load: 19.5 watts.
- Safety Buffer Factor: 19.5 watts × 1.25 buffer = 24.38 watts minimum capacity required.
- Selected Transformer: 75-watt stainless steel multi-tap transformer with built-in astronomical timer ($85).
- Wire Specification: 100-foot spool of 14-gauge, 2-conductor (14/2) direct-burial low-voltage cable ($48).
The total electrical load requires just 26% of the transformer’s capacity. This conservative margin eliminates line voltage drop over the 60-foot wire run and allows future fixture additions.
The material costs for this project totaled $445: $210 for five path lights, $84 for three step fixtures, $85 for the transformer, $48 for wire, and $18 for waterproof silicone wire nuts. The entire installation took four hours and thirty minutes to complete.
Step-by-Step Low-Voltage Installation Guide
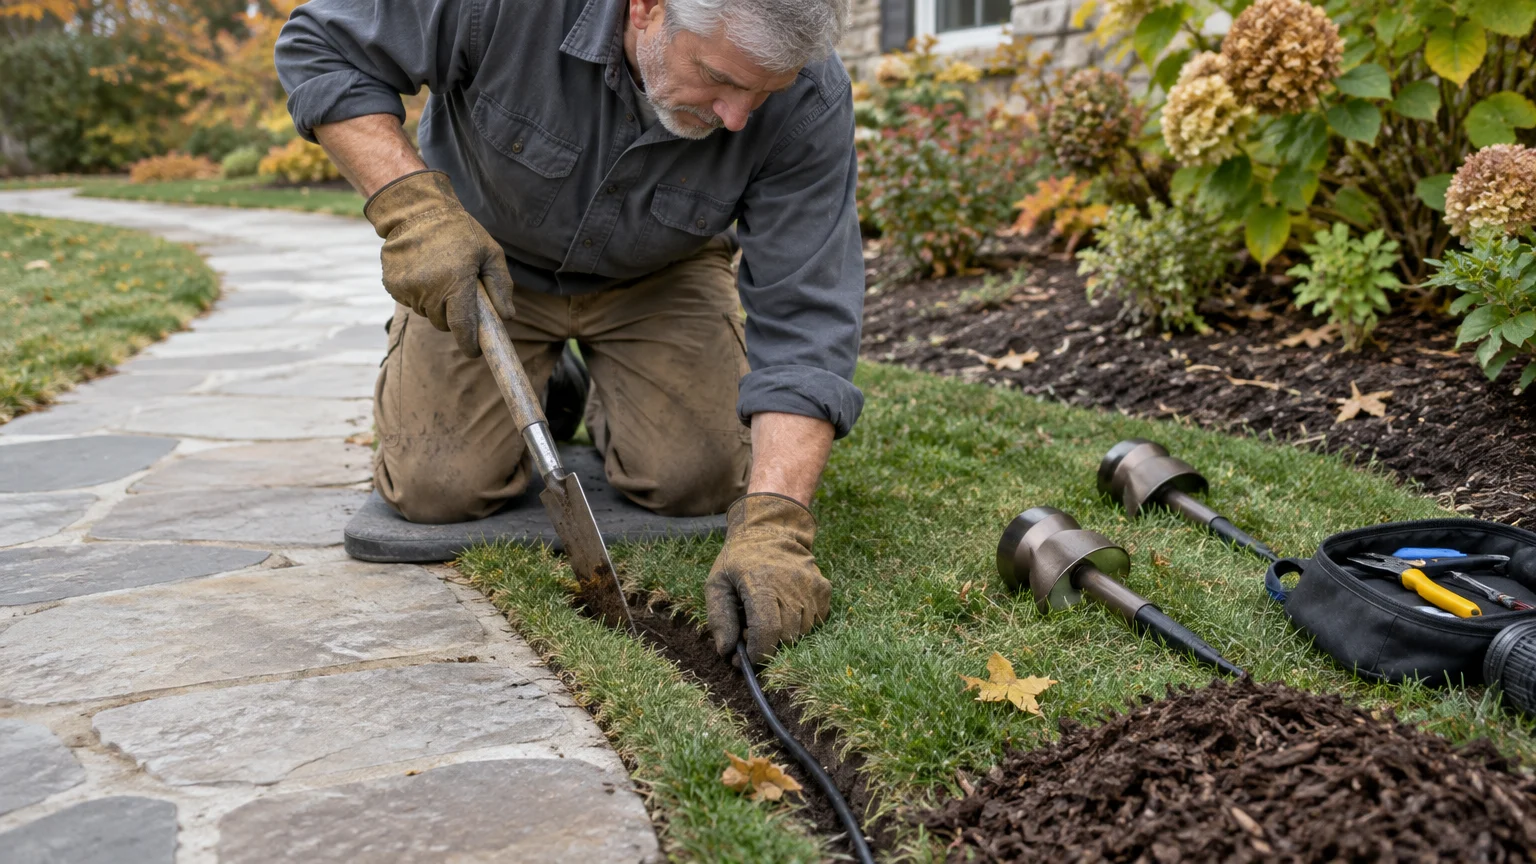
Installing a 12-volt system does not require licensed electrical work if you have an existing outdoor GFCI outlet. Follow this step-by-step sequence to install your pathway system safely.
- Mount the low-voltage transformer to your exterior wall at least 12 inches above ground level near your covered GFCI outlet.
- Unspool your 14/2 low-voltage direct-burial cable along the walkway, snaking the line behind landscaping plants and alongside step walls.
- Place your lighting fixtures on the ground at their planned locations, verifying 6-to-8-foot staggered spacing along the flagstone.
- Cut the main supply cable at each fixture location and strip 3/4 inch of insulation from the wire ends using wire strippers.
- Connect the fixture wire leads to the main run using silicone-filled, waterproof wire nuts rated for direct outdoor burial.
- Connect the main wire ends to the 12-volt terminal taps on the bottom of the transformer housing and tighten the lug screws.
- Plug the transformer into the GFCI outlet and test the system at dusk to confirm every fixture illuminates properly.
- Use a flat edging spade to create a 4-inch deep slit trench in the turf or mulch bed, push the wire down, and pack the soil closed.
- Push the fixture ground stakes firmly into the soil, using a torpedo level to ensure each stem stands plumb.
Never hammer the top of a fixture into hard ground. Drive the mounting stake into the dirt first using a rubber mallet, then thread the fixture stem onto the stake.
If you encounter buried tree roots or concrete step footings, slip the low-voltage wire inside a length of 1/2-inch PVC conduit for physical protection before covering it with soil or mulch.
Outdoor Lighting Maintenance and Safety Checks
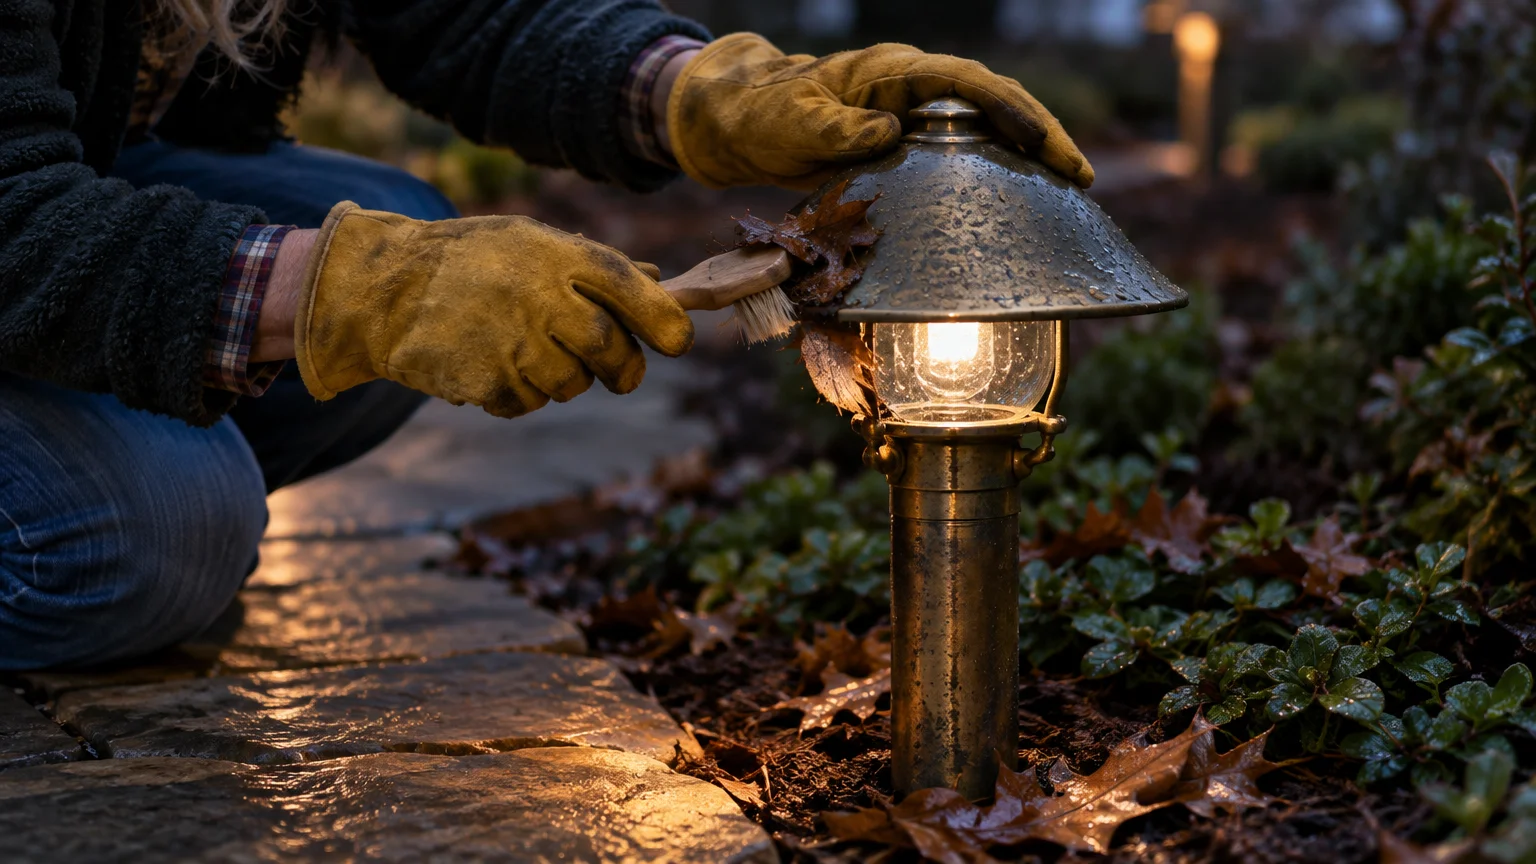
Outdoor lighting systems face constant exposure to lawn equipment, shifting soil, and harsh weather. Regular inspections keep your walkways safe and illuminated year-round.
Schedule an inspection at the start of each spring and autumn. Seasonal temperature swings expand and contract the ground, which can tilt fixture stakes or expose buried cable.
- Wipe dust, mud, and water spots off glass and plastic lenses with a soft microfiber cloth and mild soap.
- Prune ground cover, perennials, and low shrub branches at least 12 inches away from fixture heads to prevent obstruction.
- Straighten tilted path fixtures so their downward light cones aim squarely onto the walking surface.
- Check the digital timer or astronomical clock on your transformer after Daylight Saving Time transitions to ensure lights turn on before sunset.
- Examine wire runs along step transitions to ensure foot traffic or settling has not pulled connections loose.
Older homeowners who prefer not to handle physical yard work can contact local support networks. The Eldercare Locator community services database connects seniors with local chore and home maintenance programs for assistance.
Routine care protects your investment and ensures dark steps never catch you off guard. Simple maintenance keeps your walking paths safe every night of the year.
Frequently Asked Questions
How many lumens do I need for outdoor walkway lights?
For general stone walkways, select pathway fixtures producing 100 to 200 lumens each. For outdoor step risers and landings, aim for 30 to 100 lumens per fixture to illuminate tread edges without creating blinding glare.
Why is warm white light better than bright daylight bulbs for older adults?
Warm white light between 2,700K and 3,000K has longer wavelengths that scatter less inside aging eye lenses. High-Kelvin cool white bulbs (4,000K to 5,000K) create severe glare, visual halos, and distorted depth perception for seniors.
Are solar pathway lights sufficient for fall prevention?
Most budget solar lights are insufficient because their output drops below 10 to 20 lumens after a few hours of darkness or during cloudy winter days. Low-voltage 12-volt wired LED systems provide consistent, reliable brightness throughout the night.
How deep do I need to bury low-voltage landscape lighting wire?
Under the National Electrical Code, 12-volt direct-burial cable requires a trench depth of only 3 to 6 inches. This shallow depth makes installation easy to complete with a standard edging shovel.
What distance should I leave between outdoor pathway fixtures?
Space pathway fixtures 6 to 8 feet apart, staggering them on alternating sides of the walk. This layout produces overlapping pools of light that prevent harsh black shadows between fixtures.
Disclaimer: This article is for informational purposes only. Benefits, programs, and regulations can change.
We encourage readers to verify current information with official government sources and consult with qualified professionals for personalized advice.