
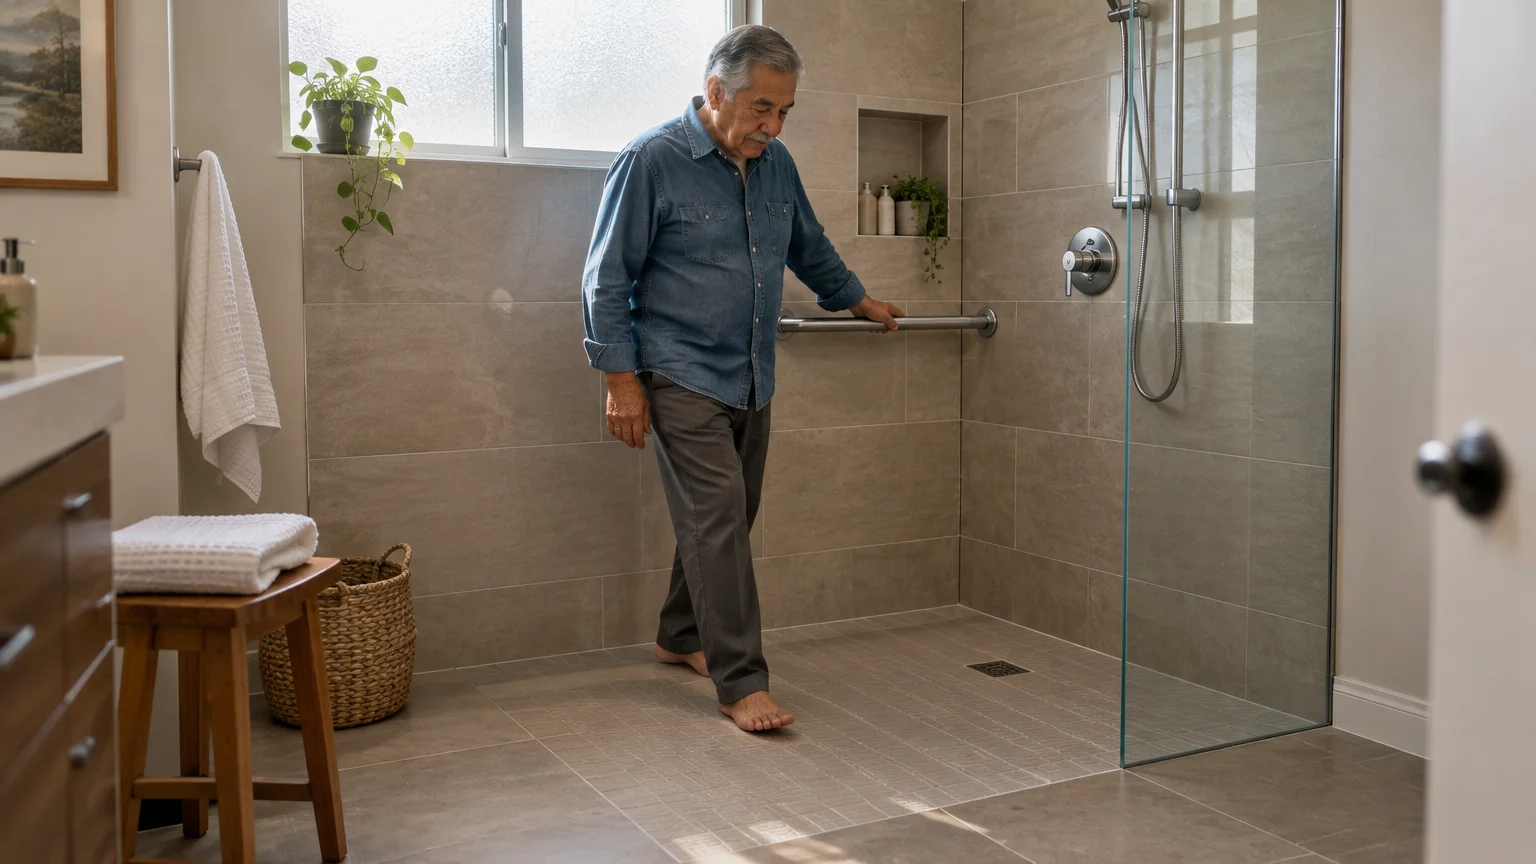
Stepping over a 15-inch bathtub apron strains arthritic knees and creates severe tripping hazards. When you convert tub to walk in shower layouts, you replace that tall barrier with a level, accessible entry.
Many contractors promote acrylic tub-cut inserts as budget-friendly solutions, but inserts leave a 4-inch lip and lack internal framing. Real bathroom safety requires solid wall backing and a flush floor transition that surface inserts cannot offer.
This practical guide details structural lumber backing, drainage adjustments, and exact costs so you can plan your renovation with confidence.
In this guide9 sections
- Comparing Tub-Cut Inserts Against Full Shower Pan Remodels
- Feature and Cost Comparison by Conversion Type
- Structural Wall Backing Requirements for Grab Bars
- Curbless Drainage Systems and Zero-Threshold Pan Selection
- Walk-In Shower Conversion Cost Factors
- Worked Example: A Real-World Alcove Conversion Budget
- Medicare Coverage Limitations and Financial Assistance Programs
- Step-by-Step Conversion and Inspection Checklist
- Frequently Asked Questions
Comparing Tub-Cut Inserts Against Full Shower Pan Remodels
A tub-cut conversion involves cutting a section out of your existing fiberglass, acrylic, or steel tub wall. Technicians then glue an inverted U-shaped plastic insert over the opening.
This method creates an entry step in less than a day without disturbing surrounding walls. However, it still leaves a raised threshold measuring four to six inches high.
If you experience joint stiffness or limited knee flexion, that remaining curb remains a constant trip hazard. A tub-cut also fails to address the slippery, sloped bottom of a standard bathtub.
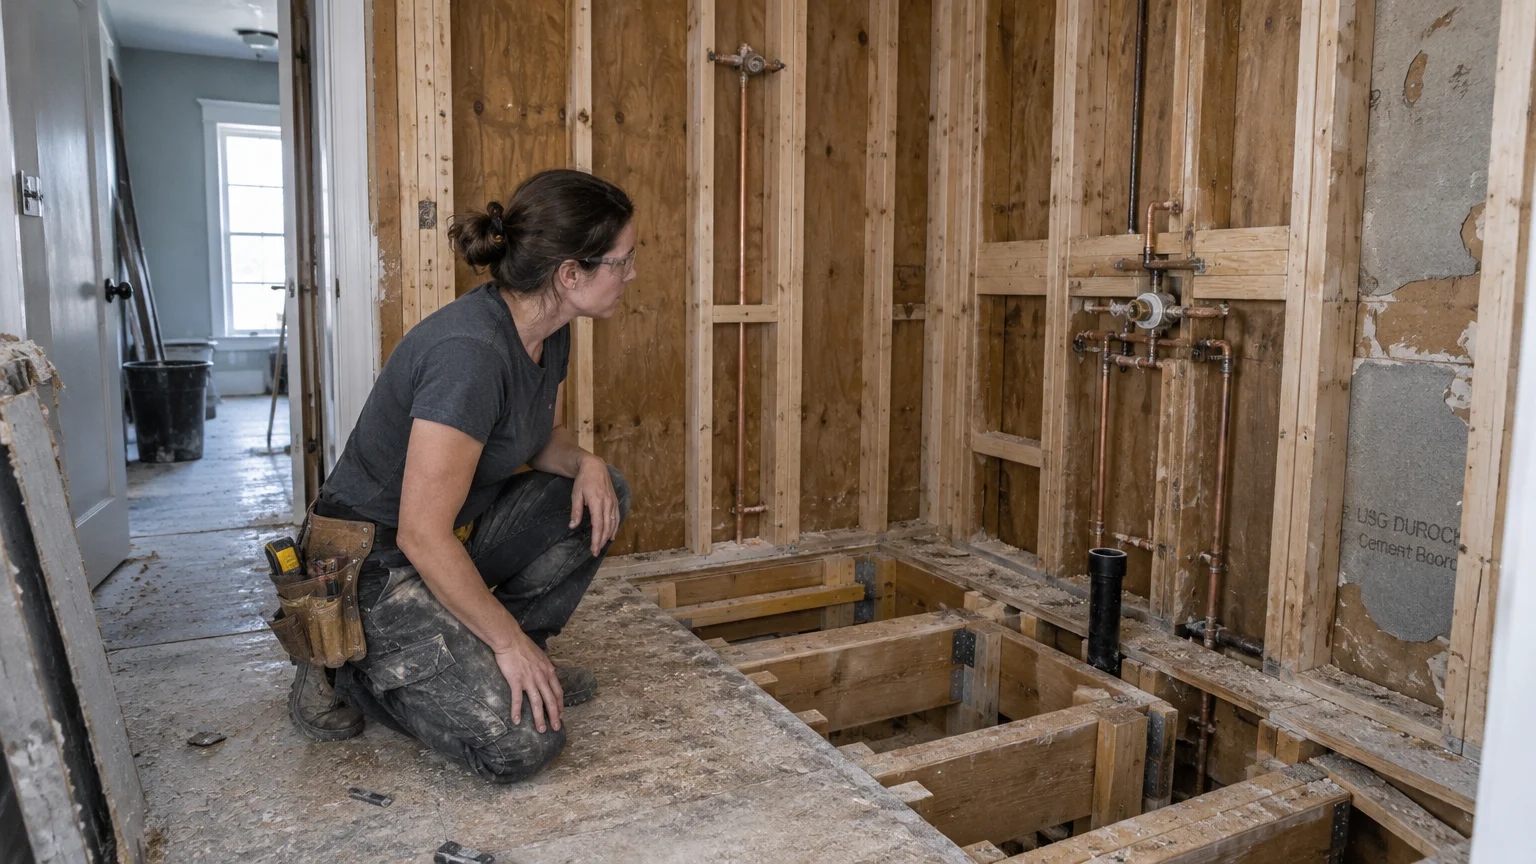
In contrast, a full shower pan remodel strips the alcove down to the bare wall studs and subfloor. Workers haul away the old tub, modify the plumbing, and install a dedicated shower base.
Full tear-outs allow you to install a true zero-threshold base that aligns flush with your bathroom floor. You can slide your feet directly into the stall without lifting your knees.
Demolishing the alcove also provides direct access to the bare wall framing. You can only install permanent, structural wood backing for grab bars while the studs remain exposed.
- Tub-cut inserts leave an unavoidable 4-inch to 6-inch step-over barrier.
- Inserts provide zero structural access to install reinforced timber behind drywall.
- Full shower pan conversions eliminate thresholds entirely for level roll-in or walk-in access.
- Complete tear-outs allow plumbers to upsize aging drain lines to current building code.
Feature and Cost Comparison by Conversion Type
Choosing the right renovation path depends on your physical needs and project budget. Review how each conversion option performs across critical accessibility metrics.
| Conversion Approach | Threshold Height | Wall Stud Access | Subfloor Modification Needed | Typical Installed Cost |
|---|---|---|---|---|
| Tub-Cut Step-Over Insert | 4 to 6 inches | No stud access | None | $800 – $1,800 |
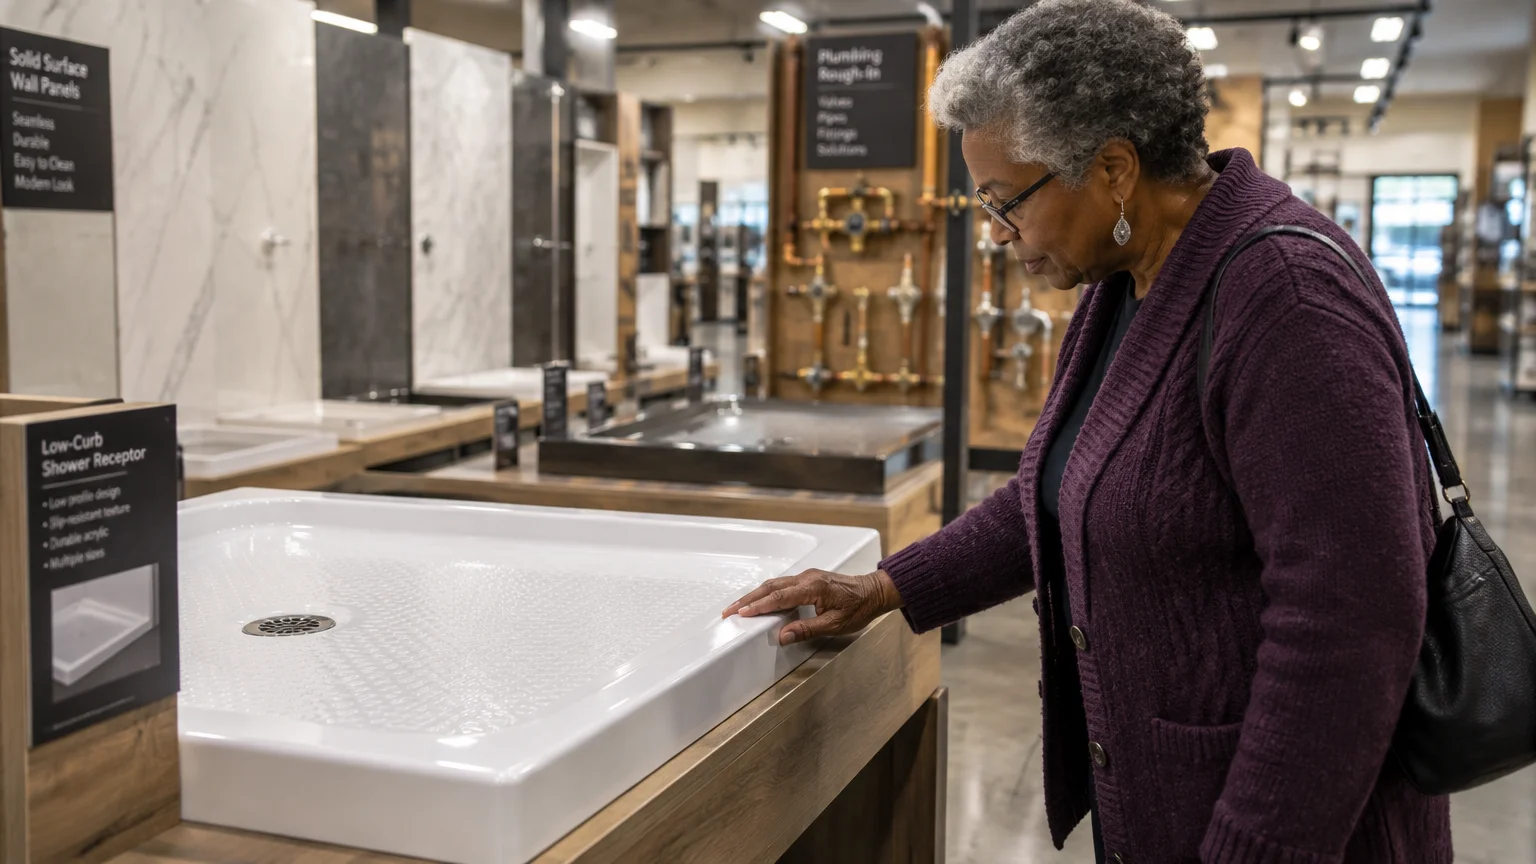
| Prefab Low-Curb Acrylic Pan | 2 to 4 inches | Complete stud access | Standard drain relocation only | $3,000 – $6,500 |
| Curbless Roll-In Pan Remodel | 0 inches (Flush) | Complete stud access | Subfloor recessed or joists sistered | $8,000 – $15,000+ |
Surface cut-outs provide the lowest initial price tag, but they rarely solve chronic joint pain. Full conversions cost more up front while delivering lifelong accessible showering.
Structural Wall Backing Requirements for Grab Bars
A secure grab bar wall backing bathroom installation requires solid lumber framing inside the wall cavity. You should never anchor safety bars solely into sheetrock, plaster, or decorative tile.
Under the 2010 ADA Standards for Accessible Design, Section 609.8, grab bars must withstand at least 250 pounds of static force. During an actual slip or fall, dynamic downward force can easily exceed 300 pounds.
Hollow-wall toggle anchors spread pressure across fragile drywall or tile backer boards. Over time, steam moisture and daily pulling cause those brittle materials to crack and pull loose.
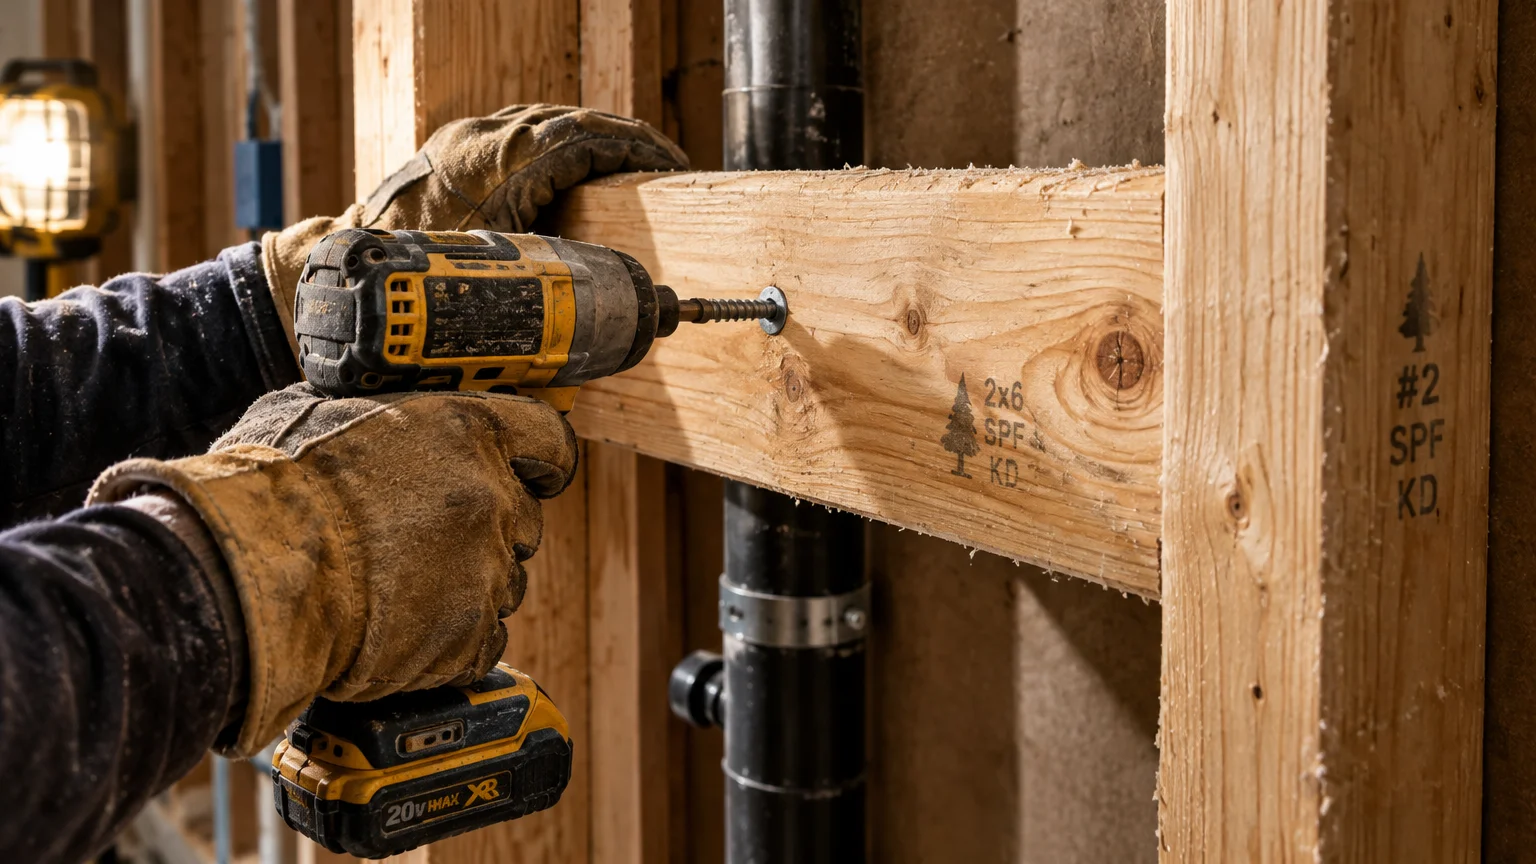
To establish permanent structural support, your contractor must install solid 2×6 or 2×8 dimensional lumber horizontally between wall studs. Position these solid blocking boards flat between the 16-inch on-center framing studs.
Secure each block using three 3-inch, #10 exterior structural screws driven through the studs at both ends. Alternatively, contractors can notch studs to accept 3/4-inch exterior structural CDX plywood spanning the entire stall length.
Once you close the wall with moisture-resistant board and tile, your installer drives stainless steel mounting screws straight into solid wood. This structural connection keeps the hardware rigid through decades of daily use.
- Horizontal support bars must sit 33 to 36 inches above the finished shower floor to the centerline.
- Mount a 36-inch or 42-inch horizontal bar along the primary side control wall.
- Install a 24-inch horizontal bar along the back wall for balance while washing.
- Anchor an 18-inch vertical grab bar near the shower entry, roughly 18 inches inside the threshold.
- Maintain an exact 1.5-inch clearance between the finished wall surface and the inside of the bar.
This 1.5-inch clearance ensures your hand can grip the rail firmly without slipping through and catching your forearm during a fall. Look for textured or knurled stainless steel finishes to provide extra grip when wet.
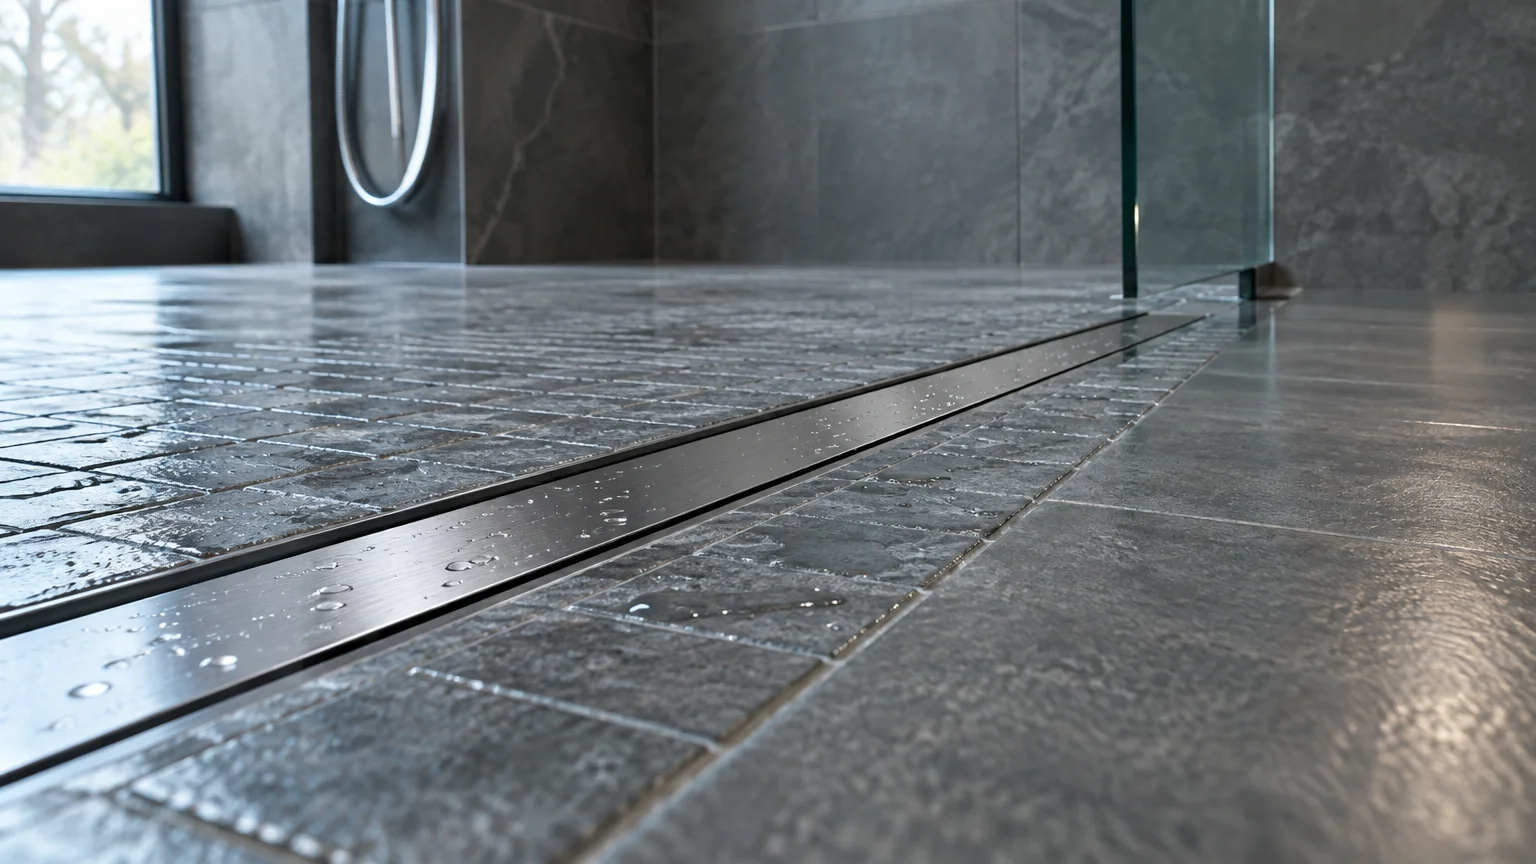
Curbless Drainage Systems and Zero-Threshold Pan Selection
A zero-threshold shower requires careful floor elevation planning to prevent water from running across your bathroom floor. You must slope the finished shower floor inward toward the drain at a minimum rate of 1/4 inch per foot.
Once you remove the threshold barrier, pairing your stall with slip-resistant bathroom rugs designed for mobility aids ensures seamless transitions across the rest of the room.
Because the entry curb sits completely flat, standard center drains can pose problems. Center drains require complex four-way slopes that create uneven, concave standing surfaces under stiff feet.
Linear trench drains offer a superior layout for zero-threshold conversions. A linear drain sits flat against the back wall or across the entryway threshold, allowing a smooth, single-plane floor pitch.
To keep the shower entry flush with your existing floorboards, the contractor must lower the shower subfloor. Crews often sister existing 2×10 floor joists to create a recessed pocket for the shower pan.
Prefabricated curbless pan systems from manufacturers like Wedi, Schluter, or VIM make this process significantly more reliable. These pre-pitched composite pans drop directly into the recessed framing bay without heavy mortar beds.
Your plumber must also evaluate your waste pipes during subfloor framing. Standard bathtubs drain through 1.5-inch waste lines, but modern shower codes require a 2-inch pipe.
A 2-inch drain line evacuates water twice as fast as a 1.5-inch line, preventing pooling inside a curbless stall. Expanding the waste pipe during demolition prevents costly overflow accidents later.
- Subfloor recessing creates a continuous, trip-free plane from dry floor to wet area.
- Single-slope linear drains eliminate compound angles that make standing painful.
- Enlarging waste lines to 2 inches prevents water from escaping into the dry bathroom.
- Bonded waterproof sheet membranes isolate framing members from moisture damage.
Walk-In Shower Conversion Cost Factors
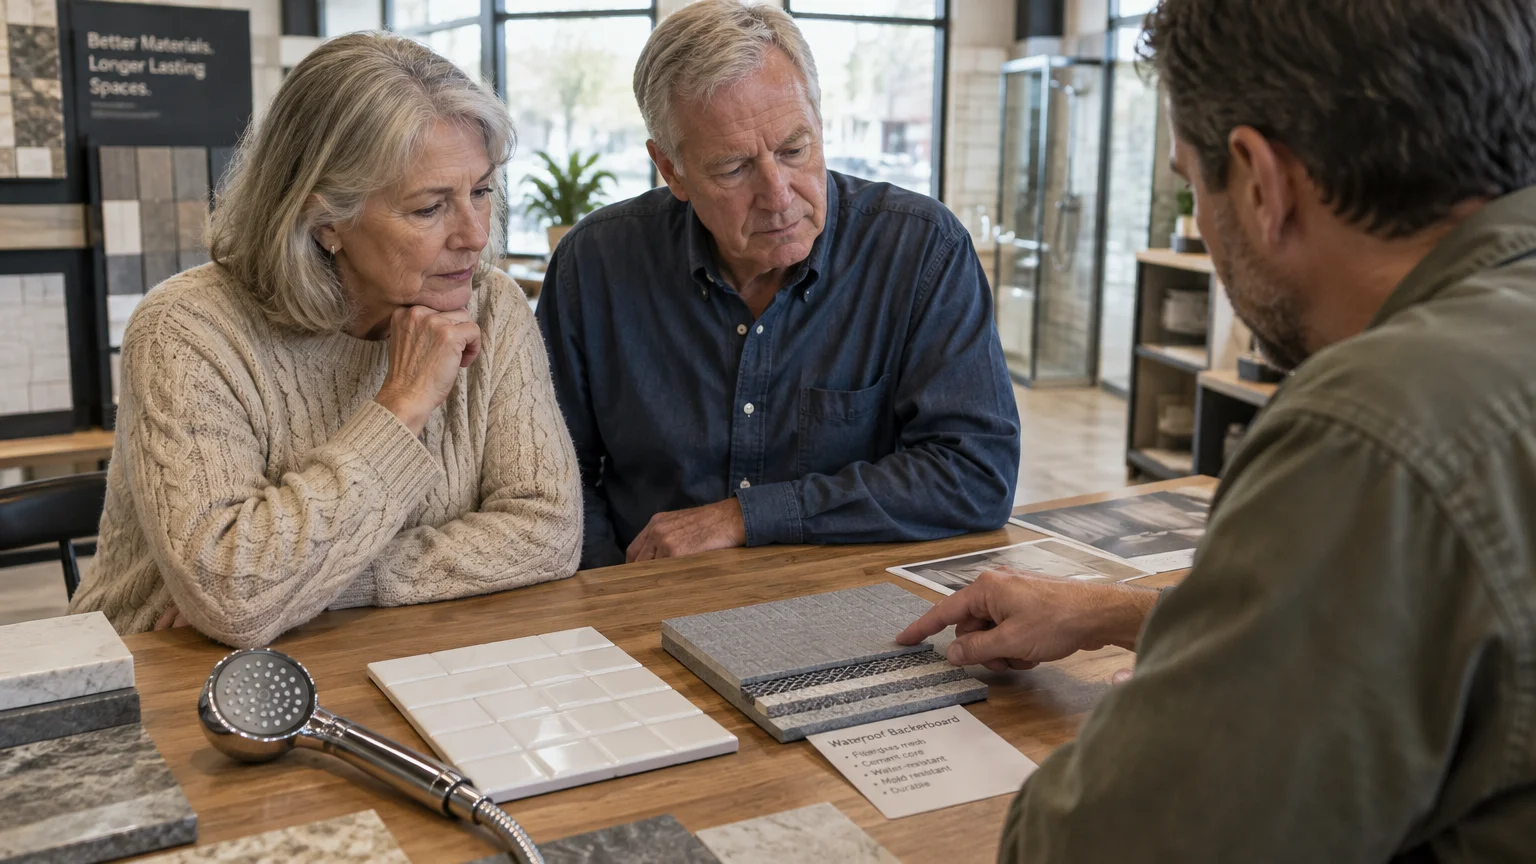
The total walk in shower conversion cost depends heavily on your choice between prefabricated systems and custom masonry. Nationally, converting an existing bathtub alcove averages between $3,000 and $9,000.
Evaluating hazards in the washroom is often part of conducting broader essential home safety checks for older adults.
Prefabricated acrylic or fiberglass stalls sit on the affordable end of the spectrum, running between $1,500 and $6,000 installed. These units feature molded shower pans and seamless wall panels that go up quickly.
Custom-tiled, zero-threshold barrier-free showers usually range from $8,000 to $15,000 or more. That higher cost reflects labor-intensive subfloor carpentry, waterproofing membranes, and detailed tile setting.
Plumbing relocations also impact your bottom line. Bathtub water valves sit around 14 inches above the floor, whereas shower control valves operate comfortably at 40 to 48 inches.
Moving water supply lines and adding pressure-balanced, anti-scald thermostatic mixing valves adds between $600 and $1,200 to your labor costs. Electrical adjustments, such as adding an overhead wet-rated LED fixture, typically add $300 to $500.
According to federal injury reports from the Centers for Disease Control and Prevention, more than one in four adults aged 65 and older falls each year. That totals over 14 million older Americans annually.
Hospital emergency rooms treat more than 230,000 nonfatal bathroom injuries every year. Slips and falls cause over 80 percent of those emergencies, with more than 68 percent occurring directly inside or adjacent to bathtubs and showers.
Spending money on accessible bathroom framing today serves as protective insurance against catastrophic medical expenses later. A well-designed conversion eliminates the exact obstacle where most severe domestic falls occur.
Worked Example: A Real-World Alcove Conversion Budget
Consider a 68-year-old homeowner converting a standard 60-inch by 32-inch cast-iron bathtub into a zero-threshold shower. This worked example illustrates exact line-item costs for a professional, code-compliant conversion.
Homeowners budgeting for ground-floor accessibility often evaluate these shower expenses alongside stair lift installation costs and options to maintain full access to multi-level homes.
The project uses a prefabricated structural curbless pan, solid-surface composite wall surrounds, and heavy-duty lumber blocking inside a suburban ranch home.
- Cast-iron tub demolition, waste hauling, and drywall removal: $700
- Plumbing modernization (converting 1.5-inch waste to 2-inch PVC, valve relocation to 44 inches): $1,150
- Structural carpentry (sistering floor joists, installing 2×8 Douglas fir wall backing): $450
- Pre-sloped barrier-free composite pan (60×32 with integrated drain flange): $1,100
- Commercial solid-surface composite wall panels (three walls to ceiling): $1,900
- Three Moen stainless steel ADA grab bars (one 42-inch, one 24-inch, one 18-inch): $160
- Anti-scald pressure-balanced thermostatic mixing valve with handheld wand slide bar: $340
- Frameless fixed-glass splash panel (34-inch wide by 76-inch high): $650
- General contractor installation labor, waterproofing membrane, and trim: $2,300
The total completed investment for this installation equals $8,750. The homeowner eliminated a 15-inch obstacle, recessed the floor framing completely, and anchored all hardware into solid lumber.
The project took five consecutive working days to complete. The end result provides complete mobility access without compromising structural wall integrity.
Medicare Coverage Limitations and Financial Assistance Programs
Many retirees assume their health insurance covers home accessibility modifications. Unfortunately, Original Medicare Parts A and B do not pay for tub-to-shower conversions.
You can verify these coverage restrictions directly at Medicare.gov, which classifies walk-in showers as general home modifications rather than Durable Medical Equipment. Because a shower modification remains a permanent structural feature, Medicare excludes it from standard clinical benefits.
However, alternative coverage avenues exist depending on your health coverage and veteran status. Some Medicare Advantage (Part C) plans offer modest supplemental allowances for home safety modifications.
These supplemental benefits vary widely by carrier and county, typically contributing between $500 and $1,500 toward qualifying bathroom safety installations. You must obtain a physician’s written prescription detailing your mobility impairment to qualify.
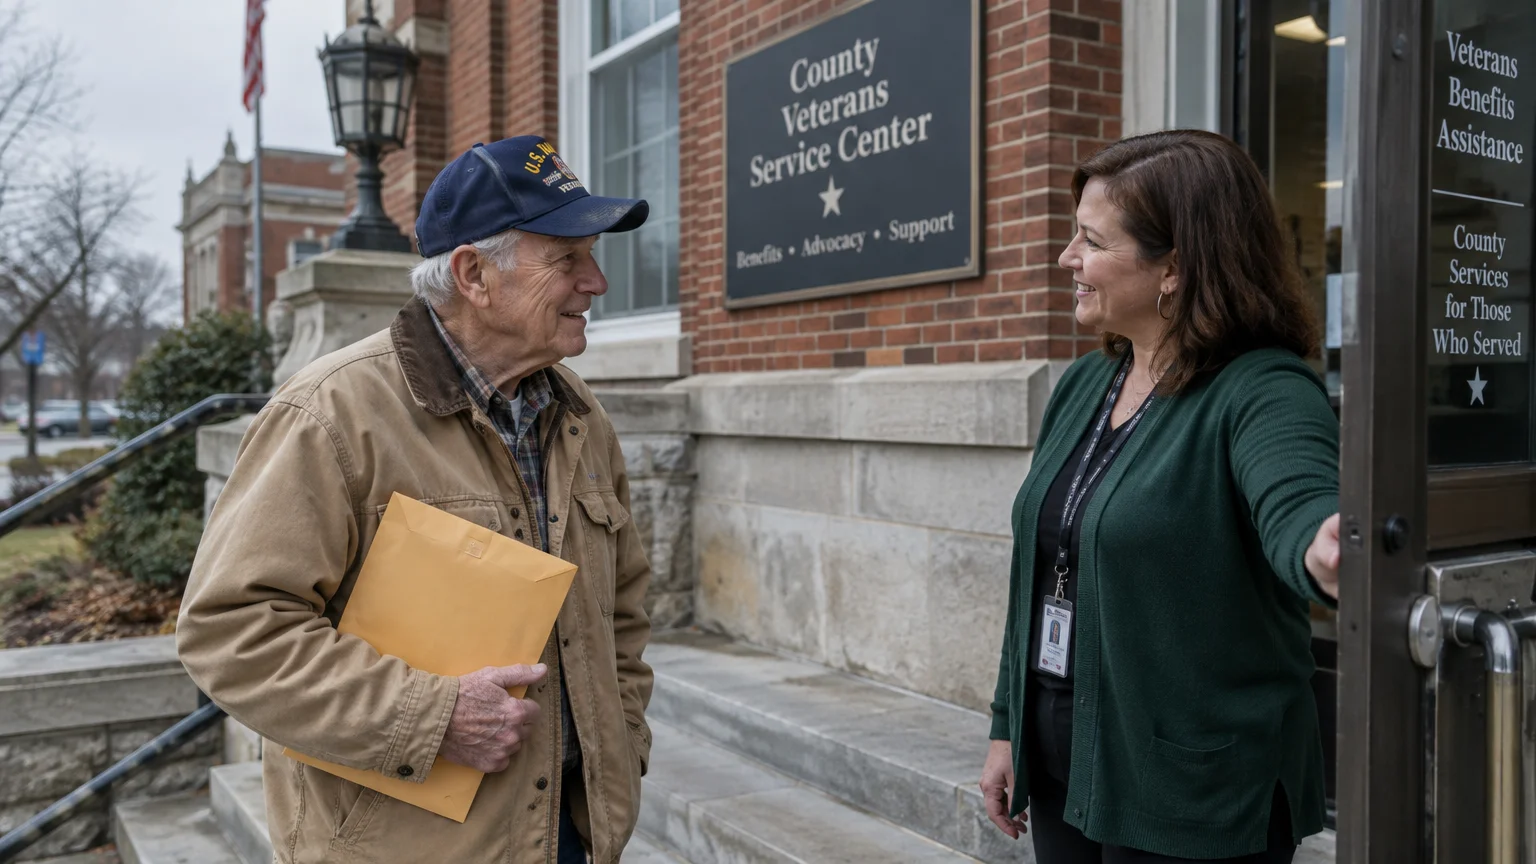
Military veterans possess stronger financing options through the Department of Veterans Affairs. The VA Home Improvements and Structural Alterations (HISA) grant provides direct financial assistance for accessible home updates.
The HISA program awards up to $6,800 to veterans with service-connected disabilities to construct accessible walk-in showers. Veterans with non-service-connected medical conditions can receive lifetime grant funds of up to $2,000.
You can identify local aging and disability programs using the Eldercare Locator network. Your regional Area Agency on Aging often manages state-funded accessibility grants or low-interest home adaptation loans.
Additionally, you can review national assistance databases at Benefits.gov to check for state assistive technology loan programs. Some states offer low-interest financing to help aging homeowners complete critical fall-prevention remodels.
- Original Medicare excludes bathroom remodels and zero-threshold installations from coverage.
- Certain Medicare Advantage policies provide small supplemental home safety benefits.
- VA HISA grants provide up to $6,800 for service-connected bathroom remodeling projects.
- Area Agencies on Aging help lower-income homeowners locate local safety repair grants.
Step-by-Step Conversion and Inspection Checklist
Managing a contractor requires clear structural expectations before demolition begins. Use this sequential checklist to monitor work quality during every phase of your conversion.
- Demolish the existing tub down to bare studs, checking subfloor boards for hidden water rot.
- Cut the subfloor joists to lower the floor height if building a zero-threshold curbless entry.
- Upgrade the waste line from 1.5 inches to 2-inch PVC pipe with a smooth P-trap connection.
- Screw 2×6 or 2×8 dimensional lumber horizontally between studs at 33 to 36 inches above floor level.
- Install additional vertical 2×8 lumber blocking at the shower entrance framing for the entry bar.
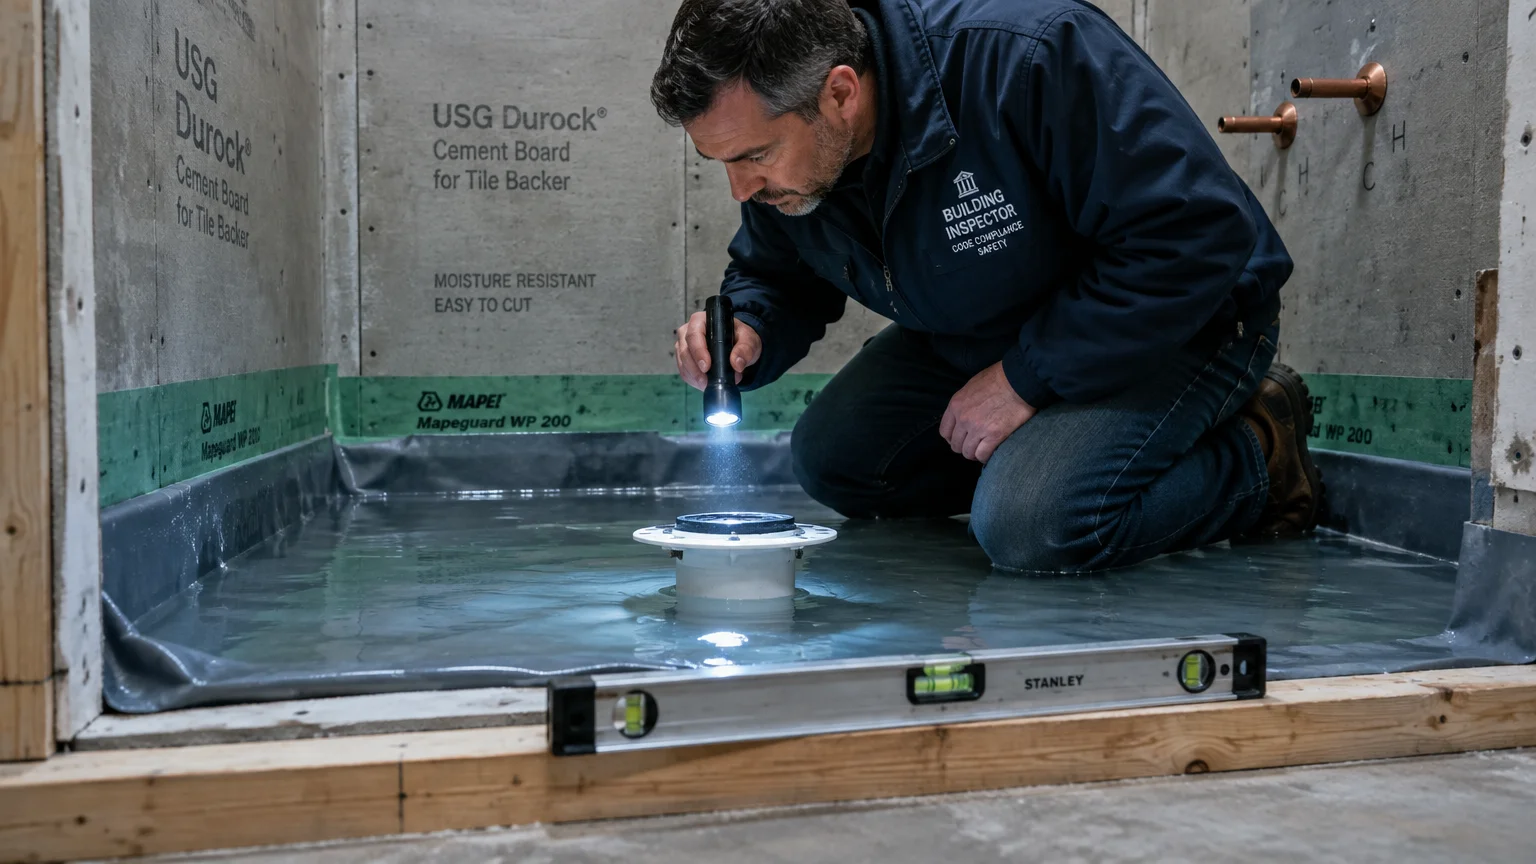
- Set the pre-pitched shower pan, checking with a 4-foot level to ensure slope toward the drain.
- Apply continuous waterproof membrane sheets up the walls, overlapping the pan flange by two inches.
- Run a 24-hour water flood test by plugging the drain to verify that seams remain watertight.
- Install moisture-resistant backer board, followed by solid-surface wall panels or ceramic tile.
- Drive 2.5-inch stainless steel screws directly through the wall board into the hidden 2×8 backing boards.
Never let a contractor close wall cavities before you inspect the lumber blocking with your own eyes. Taking photos of the open stud bays with a tape measure held against the backing will document exact anchor locations.
Frequently Asked Questions
Does Original Medicare pay to convert a tub to a walk-in shower?
No. Original Medicare Parts A and B do not pay for tub-to-shower conversions or bathroom remodeling. Medicare classifies walk-in showers as general home modifications rather than Durable Medical Equipment.
What is the average walk in shower conversion cost?
Converting a standard bathtub into a walk-in shower averages between $3,000 and $9,000 nationally. Prefabricated acrylic units cost between $1,500 and $6,000, while custom tile zero-threshold showers range from $8,000 to $15,000 or more.
Can you install grab bars using hollow-wall anchors instead of wood backing?
Building professionals strongly advise against hollow-wall anchors for safety grab bars. While specialty toggle bolts exist, they can loosen over time; ADA standards require anchoring into solid 2×6 or 2×8 lumber backing to sustain dynamic fall impacts.
What is the difference between a low-threshold and a zero-threshold shower?
A low-threshold shower features a small curb measuring between one and four inches high. A zero-threshold shower sits completely flush with the bathroom subfloor, removing all tripping obstacles for people with joint stiffness or mobility devices.
How long does a professional tub-to-shower conversion take to complete?
A basic acrylic insert or prefabricated pan conversion typically takes two to three days. A complete custom zero-threshold conversion with subfloor modifications, structural wall backing, and tile setting requires five to seven working days.
Disclaimer: This article is for informational purposes only. Benefits, programs, and regulations can change.
We encourage readers to verify current information with official government sources and consult with qualified professionals for personalized advice.


1 Comment